Pages Menu
Categories Menu

Posted by on Sep 5, 2017 in Painted Autumn, Painted Harvest, Wood Words | 0 comments

Painted Harvest Mini

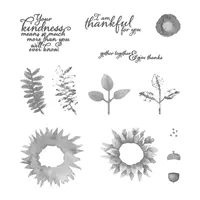
I have a fun quick little mini card for you guys today.  I am still enjoying using the Painted Harvest stamp set.  The flowers in the set are sunflowers, which I love! They are such happy awkward flowers.

Painted Harvest

I love the layered look you get with this two-step flower!  Th leaves and fern also can be used as layering stamps. The cool thing is that they also look great as stand alone stamps.

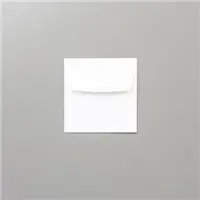
Mini cards are really popular right now!  especially, with the 3×3 envelopes back in the Holiday Catalog.  To make a mini 3×3 card you will need to cut your card stock down to 3 by 7.  You will want to score at 3 inches on the long side.  Then burnish the score line with your bone folder.  Now you have the most adorable little mini card!

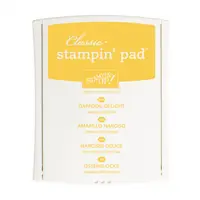
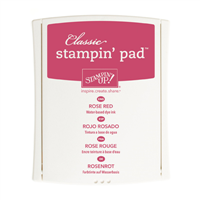
  • The colors used are Daffodil Delight and Rose Red. I don’t use Rose Red very often, but it is really a wonderful pinky red
  • The white layer is Glossy White. I stamped the Daffodil Delight layer then stamped the Rose Red layer.  It takes a few minuets for the ink to dry on the Glossy paper
  • While the ink was drying, I cut a piece of Daffodil Delight to 1/2 inch. Then stamped the sentiment from Wood Words in Rose Red
  • The final touch was to add a little ink splatter in Daffodil Delight

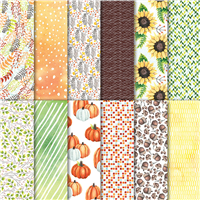
You guys know I love to decorate my envelopes, so I used the Painted Autumn Designer Series Paper to add a little color to the envelope flap

[Comment]

The Holiday Catalog is here! I adore this catalog! I know you are loving it as much as I am! It is just full of awesomeness!!!

There is a super exciting stamp set available to all who place $300 order during September and October. Host a party or gather orders from your friends to reach your $300 order! You are going to want this exclusive stamp set! It is amazing!

There is a Paper Pumpkin sale going on and it is pretty sweet! This is definitely the time to join!!!

Here is the supply list.  If you have any questions about today’s card, products used, or Stampin’ Up! feel free to email me at westsidepapercreations@gmail.com


Supply List

 I hope each of you have had a wonderful Memorial Day yesterday! Mike and I did lots of relaxing! Today, we are back at work at the cafe’.  Be creative my friend?
Peace and happyness-

Jennifer

Read More

Posted by on Sep 1, 2017 in Butterflies Thinlits, Butterfly Basics, Dapper Denim, Dragonfly Dreams, Gelli Plate, leafing, Monoprinting, Oh So Eclectic, Touches of Texture | 2 comments

Wings of nature monoprints

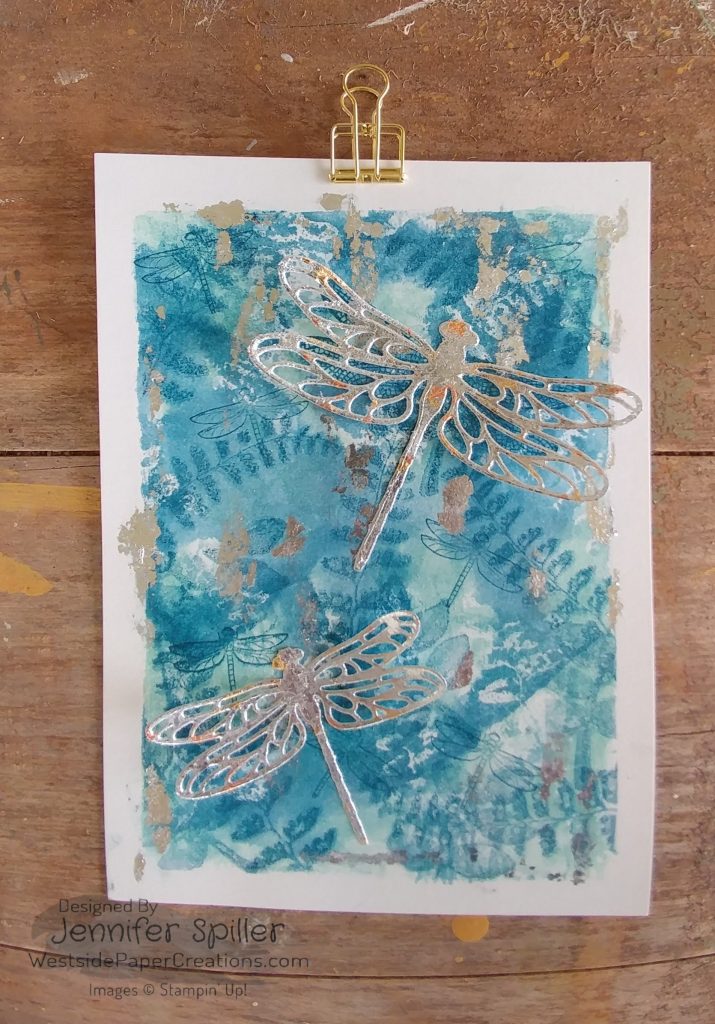
Hi! guys, I’m back today with another set of monoprints.  I am super excited to share these prints with you!  I used the mono prints as backgrounds for butterflies and dragonflies!  Such fun. I made these prints at the same time as the ones I shared earler this week. Actually, I used the same stamps for the printing process, Butterfly Basics.  Then, I added some extras to the prints.

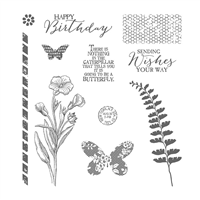
Butterfly Basics Stamp Set

This set is one of my all time favorites! As I mentioned, Sunday it was time to give it some love!!

  • Each print has its own unique feel.  Yet all three work so well together.
  • The guilding and stamping on top of the prints give them an extra special feel

These prints were made very similarly to the original monoprints, used a Gelli Plate to create the prints.

  • The paper is mixed media paper and is taped with painters tape to create a border
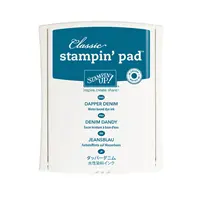
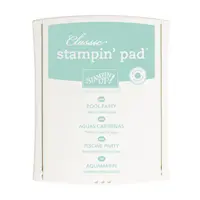
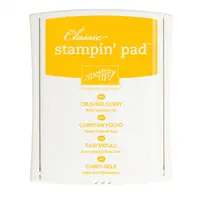
  • The colors used are Pool Party, Crushed Curry, and Dapper Denim
  • The process is a layering of Gelli prints to create a depth of color and texture.
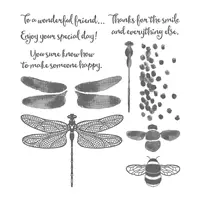
  • The Dragonfly is stamped in Dapper Denim. This is from the Dragonfly Dreams Stamp set

  • This print is accented with stamping and guilding.  After the print was completed, I added additional stamping to add even more texture.
  • Even more texture was added with glue and guilding. (mixed metal leafing)
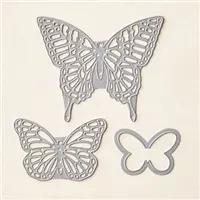
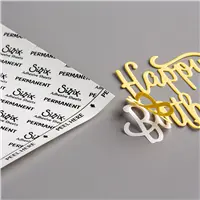
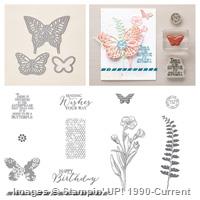
  • The butterfly was guilded. I love using the multipurpose adhesive sheets for this process.  It makes leafing so easy with die cuts
  • The colors are Dapper Denim, Pool Party, and Crushed Curry

  • This print is just two colors, Dapper Denim and Pool Party
  • There are a few leaves peeping through from the Oh So Eclectic stamp set.
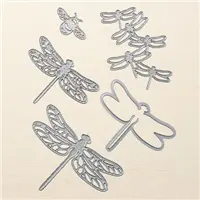
  • The small dragonflies are from the Touches of Texture stamp set.  They are stamped in Dapper Denim
  • Little secret, I originally was not going to use this print. It was a slight bit crucked. Then I thought. Add some guilding.  So, I did…this led to the two prints above. Witch I love!
  • The two large dragonflies add a little extra special feel, especially with all the guilding in the background

If you would like to know more about the actual printing process check out this post!  It explains the steps of the printing process. I didn’t want to repeat what I had just told you on Sunday! But, I sure did want you to see these beautiful prints.

Each of your comments makes me smile! Please, comment HERE.

Today is the day! The Annual catalog is Here!!! Lets all do the Happy Dance!!! Yeppie. I am so excited for you to see the catalog!!!

There is a Paper Pumpkin sale going on and it is pretty sweet! This is definitely the time to join!!!

Here is the supply list.  If you have any questions about today’s card, products used, or Stampin’ Up! feel free to email me at westsidepapercreations@gmail.com


Jennifer

Read More

Posted by on Aug 30, 2017 in At Home With You Bundle, Brick Wall Embossing Folder, Brushwork Alphabet, Build a Bike, Embossing, ink as watercolor, Painted Autumn, watercolor, Watercolor pincles | 3 comments

At Home with you sweet puppy

It is always a sweet moment when a friend brings a new pet home.  A friend recently got a new puppy.  So, of course I had to make them a card that will go along with a gift from my favorite pet store. Come Sit Stay in Nashville, Tn.  This store is amazing and the owner Robin always knows just the right gift! She is amazing at what she does. So when you are in Nashville be sure to stop by her store! You want be disappointed!

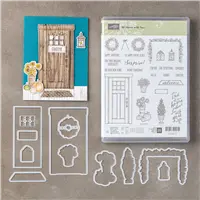
For the card, I used the stamp set bundle At Home With You! This set is super fun! I love the door and all the seasonal decorations!!

At Home With You Bundle

I love the classy modern feel of this stamp set!!! How fun is it to have a beautiful door to decorate.

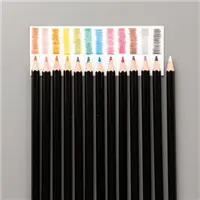
  • Each element was stamped and then watercolored using watercolor pencils and ink refills.
  • Then using the coordinating dies, each element was cut out
  • The background is the brick walls embossing folder and the Painted Autumn Designer Series Paper(available Sep. 1)
  • The door has a special die that cuts it on three sides allowing the door to open.
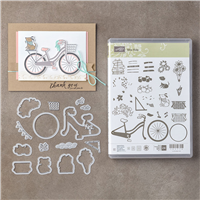
  • That cute little dog is from the build a bike bundle. Is he not just adorable in front of the door…

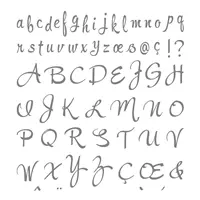
The door opens up for a sweet message. That was created using a little masking, stamp surgery (yes I cut a sentiment in half ?…it will be okay ?. I put him back together with ❤ …?), and the Brushwork Alphabet set.

Each of your comments makes me smile! Please, comment HERE.

The Holiday Catalog goes live on September 1st!! If you would like a copy just let me know via email. I will be happy to send you one!

The Carols of Christmas Early Release is now available for you to purchase. You are going to love this set so much. It is my must have from the Holiday Catalog. It is amazing!!! So very easy to use and just simply perfect!!! It will remind you of why you love stamping in the first place. The stamp set pairs with the Card front builder dies! These dies rock!!!! They will make every Holiday Card sing in glory!!!!

There is a Paper Pumpkin sale going on and it is pretty sweet! This is definitely the time to join!!!

Here is the supply list.  If you have any questions about today’s card, products used, or Stampin’ Up! feel free to email me at westsidepapercreations@gmail.com

Supply List

Happy Wednesday! I have been thinking a lot lately about how we can share our creativity to #spreadkindness.  Sending cards and making pretty things for others defantly makes the world a better place.  Stay creative my friends
Peace out-

Jennifer

Read More

Posted by on Aug 27, 2017 in Gelli Plate, Monoprinting, Oh So Eclectic | 2 comments

Gallery Style Wall Art

I love using my stamps for something besides cards.  It is always nice to stumble across an idea and it work out! While I was using my gelli plate the other day to make a background on glossy paper.  I decided to try some other ways of printing with my Stampin’ Up! inks.  I selected the colors based on a Faux Batik idea that didn’t quite pan out.  I tell you this because, this fail is what made me start looking for other ways to layer the colors like I wanted.  That’s when I saw my gelli plate still on the table.  So I tried it out…I was thrilled!!

One of my all time favorite stamps is the fern in the Butterfly Basics stamp set. This is another wonderful stamp that has been neglected for way to long.   Of course I had to get it inky!

Butterfly Basics Stamp Set

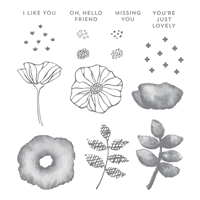
I paired the fern with a new stamp in oh So Eclectic.  This is a fun set that has several images that look like watercolor. I chose the leaf

Oh So Eclectic

I love the verity of fun images that is in this set! It is happy and full of life!!!

My gelli plate is 5×7 and is the perfect size to make small gallery inspired prints.  The process is basically the same.  You can add ink or stamped images to the gel plate. Press the plate onto paper. And lift up.  And repeat. … That’s the basics. I made several that I’m planning on hanging on the wall at work in a collage format. For each one I will tell you what I did.  The paper I used for almost all the prints is mix media paper.  I love this paper because it has a vellum finish and is thick!  So it can handle a lot…I used it today because, I’m not planning on framing these prints.  The thick paper will look nice all on its own!

As it turned out I really enjoy the process of monoprinting with the gelli plate. I could do this all day! The first three are just basic prints. (I’m shareing others later in the week)  You can see in the above picture that the two smaller prints are on watercolor paper.  You can tell a difference in how the printing looks on that paper vs. the mixed media paper in the middle.

This first print is just basic stamp printing.  The first thing I did was ink the gelli plate with Dapper Denim.  I pressed this off on a scrap piece of paper. The second step was to stamp the leaf stamp into the plate. There was still ink on the plate so this created a very faint shadow image.  This time I pressed the plate onto the paper I was planning on using. Then stamping on to the gel plate with Pool Party ink and Dapper Denim. The fern and leaf images. The last step was to press a second print on top of the first print

The is the same process as above.  The main difference in the look is that I combined Pool Patty and Dapper Denim on the first background print.  This gave it a greenish tent.

This monoprint was lots of fun! You can see how much smother the ink is on the mixed media paper vs. the hot press watercolor paper.

For this print, I pressed both the Pool Party and the Dapper Denim ink pads directly onto the gel plate. Then I lightly spritz with water. Using the fern image I stamped into the spritz water. Then stamped off on a piece of shimmery white.  I wanted to keep the image for a later project.  I repeated the stamping several times.  Then, made my first print. At this point it will look something like this.

Pretty rough, huh?

The next press is stamped ferns onto the plate with both Pool Party and Dapper Denim.  Then You want to press this print on top of the first print!

At this point I knew the print was starting to take shape.  I did this process one more time. Then, added some Dapper Denim ferns directly to the paper.

At this point let your print dry.  I learned the hard way that embossing powder really loves the inky prints.  After it was dry.  I added a silver fern that was heat embossed.

I love how the heat embossed image shines on the monoprint background.  I have three more monoprints to share with you later in the week.  You will love them! I add a few extra elements to them that really brings a wow factor!

[Comment]

The Holiday Catalog goes live on September 1st!! If you would like a copy just let me know via email. I will be happy to send you one!

The Carols of Christmas Early Release is now available for you to purchase. You are going to love this set so much. It is my must have from the Holiday Catalog. It is amazing!!! So very easy to use and just simply perfect!!! It will remind you of why you love stamping in the first place. The stamp set pairs with the Card front builder dies! These dies rock!!!! They will make every Holiday Card sing in glory!!!!

There is a Paper Pumpkin sale going on and it is pretty sweet! This is definitely the time to join!!!

Here is the supply list.  If you have any questions about today’s card, products used, or Stampin’ Up! feel free to email me at westsidepapercreations@gmail.com

Besides my Stampin’ Up! supplies, I used a Gelli Plate and Mixed Media paper.


Thanks for stopping buy on this amazing Sunday.  I hope each of you have a blessed day!  If you make your own gallery prints I would love to see them. You can always tag me on social media or email me pictures.  Happy creating!

Peace my friends-

Jennifer

Read More

Posted by on Aug 24, 2017 in Copper Embossing Powder, Embossing, Faux Batik, Feather Together, Heat Embossing | 0 comments

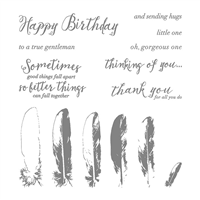
Feather Together

I loved yesterday’s Inking Royalty blog hop! It was so much fun hopping with my stamping friends.    If you would like to see the Fall Fav. Hop click here.   What awesome fall inspiration was shared!

My card for you today is a Faux Batik card using the Feather Together Stamp Set.  I love feather stamps. And have owned several over the years.  This one is just extra lovely to me!

Feather Together

This is a stamp layering set.  So you can layer the stamps to make a feather that looks like it has dimension.

Faux Batik is one of those techniques that I just can’t get enough of right now! I am just loving it!

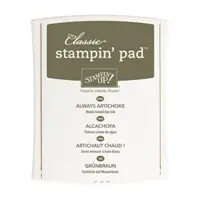
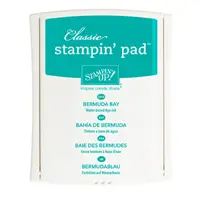
  • The colors used are Always Artichoke, Bermuda Bay, and Crushed Curry
  • I picked three of the feather layers and heat embossed them onto tissue paper for the Faux Batik technique.
  • I taped a border using painters tape on shimmery white paper
  • After adding the embossing to the tissue, lay the tissue over your paper (shimmery White in this case)  and use a baby whips to add color to the tissue.  This will “transfer” the image to the card.
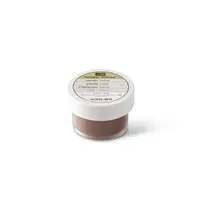
  • The sentiment is heat embossed with copper embossing powder
  • The copper foil and the Smoky Slate card base lightens up the card! This make the feathers pop!

Each of your comments makes me smile! Please, comment HERE.

If you would like to know more about the Faux Batik  technique check out this post.

The Holiday Catalog goes live on September 1st!! If you would like a copy just let me know via email. I will be happy to send you one!

The Carols of Christmas Early Release is now available for you to purchase. You are going to love this set so much. It is my must have from the Holiday Catalog. It is amazing!!! So very easy to use and just simply perfect!!! It will remind you of why you love stamping in the first place. The stamp set pairs with the Card front builder dies! These dies rock!!!! They will make every Holiday Card sing in glory!!!!

There is a Paper Pumpkin sale going on and it is pretty sweet! This is definitely the time to join!!!

Here is the supply list.  If you have any questions about today’s card, products used, or Stampin’ Up! feel free to email me at westsidepapercreations@gmail.com


Supply List

 I am so happy you stopped by on this beautiful Thursday! We just have today and tomorrow untill we get to another crafty Weekend! Yeppie.   Have a great day, be creative, spread kindness, and share your craft with others!!!
Peace my friends-

Jennifer

Read More