Sprinkles of Life
Every year Stampin’ Up! has a special stamp set that they contribute a portion of proceeds to the Ronald McDonald House Charities. This years stamp set is Sprinkles of Life. Wonderfully cute photopolymer stamp set.
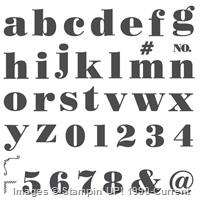
I just love all the different stamps in this set. The ice cream cone, the tree, the clouds, the little flowers. Really, all of them are just precious. Rain Drops!!!! In this stamp set you get a whoppin’ 22 stamps. 7 of them are greetings including “you are the sprinkles on the cupcake of life” and “every cloud has a silver lining – you just have to look up” The coordinating clear blocks are A, C, and G. Sprinkles of Life is a must have stamp set!!! Not only is it very versatile and sticking cute, Stampin’ Up! will contributing to the Ronald McDonald House Charities. Did I mention that this set coordinates with the Tree Builder Punch. What’s better than that!!!! Well, the only thing I can think of is a card made using Sprinkles of Life.
Here are some sample cards from the Stampin’ Up! Catalog:

Are they not just wonderful!!! I think Sprinkles of Life is just a very happy stamp set!!!
Here is Today’s card:
The Detalis:
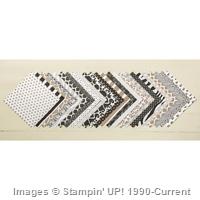
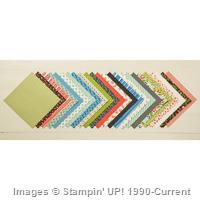
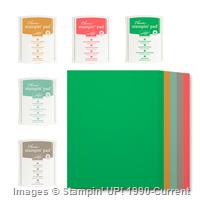
- The colors used are Whisper White, Mint Macaron, Cucumber Crush, Watermelon Wonder, and Delightful Dijon
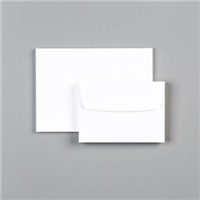
- The card base is from the Whisper White Note Cards and Envelops. I have been using these a lot lately. I love the smaller size and the convince of having the card base cut and ready to use!!!! The Mint Macaron layer is cut to fit just inside the edge of the Whipser White Note Card. 1/8 inch smaller. Using Tombow Multipurpose Liquid Glue adhere the Mint Macaron layer to the card base.
- The silver layer is the Silver Glimmer Paper with Whisper White on top cut 1/8 inch smaller.

- On the Whisper White stamp the clouds and rain drops in Mint Macaron.
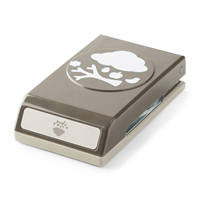
- The tree is made using the Tree Builder punch.
 I stamped the Leaves of the tree in Cucumber Crush ink on Cucumber Crush cardstock. And the trunk of the tree is Tip Top Taupe ink stamped on Tip Top Taupe paper. The tree trunk of the tree is glued to the Whisper White layer that you stamped the clouds on. Then the “Leaves” are added using Stampin’ Dimensionals.
 - I used the flower stamps (two step stamps) to stamp flowers in Watermelon Wonder and Cucumber Crush.
- Glue the Whisper White panel to the Silver Glimmer Paper. Using Stampin’ Dimensionals add the sliver layer to the card base.
- Finally add the “every cloud has a silver lining” to the Mint Macaron panel.


Easy way’s to step it up:
- Decorate the outside of the card. I add just the pettlas of the flower to the envelope flap. And then on the front of the envelope I added a row of flower.
- When stamping the clouds, stamp more than one cloud before re-inking. This will add depth to the clouds.
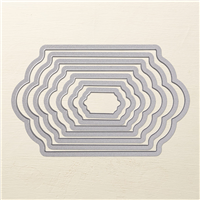
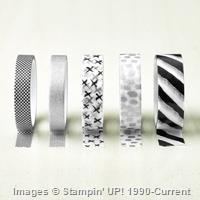
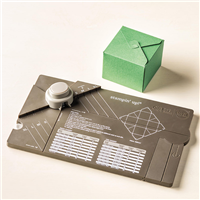
So that’s it for today!!! Remember to check out the Weekly Deals ( they are now as supplies last) This means first come first serve!!! Lot’s of great items on this weeks deals including Everyday Chick Designer Washi Tape, Handpicked Framelits, and the Gift Box Punch Board!!!
Weekly Deals

Built for Free Using: My Stampin Blog
Supply List for Today’s Card


Built for Free Using: My Stampin Blog
If you have any questions about today’s card, Stampin’ Up!, or stamping in general please feel free to contact me using the form below.


Thank you for taking time to stop by Westside Paper Creations! I hope you enjoyed today’s card. Stop by again soon!