‘Tis The Season for Fab Friday
Fab Friday has another great challenge for us. This challenge is a card design challenge. I had a hard time with this challenge. I actually, made several cards before deciding on this one. At one point, I decided to not play along with Fab Friday this time. That’s how hard this challenge was for me. One of my cards I made trying to for fill this challenge you will see after the week of Clearance Rack items. Though, I love the card it did not satisfy what I was looking for in this challenge. In a last attempt Saturday, I decided to try again. I could not be beaten by this challenge. I came up with today’s card. Please take time to check out all the great paper art items at Fab Friday.
Here is the Fab Friday Banner
Ok, Now I know what you are thinking…It is a great sketch and I am just challenged… Well, your right.
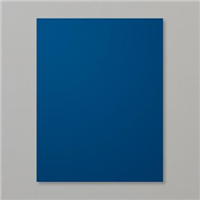
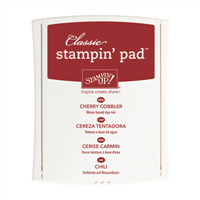
The color inspiration for today’s card takes me all the way back to the 1980’s. A time when in decor “county” had its own shade of blue. Though, this card is not exactly “country blue” it reminds me of a time when it ruled. Especially when combined with kraft. It also, bring to mind a song long forgotten by Barbara mandrel. “I was county when county wasn’t cool.” When the card finally come together all I could hear in my head was Barbara singing so smoothly. I then immediately thought about The Barbara Mandrel Show. Boy, it has been a many a years sense I have even thought about the song or TV show. But, that’s what art does (paper crafting, music, painting, etc). It evokes in us memory or emotions that take us to a place long gone. The colors used are Night of Navy, Mossy Meadow, Cherry Cobbler, and Crumb Cake
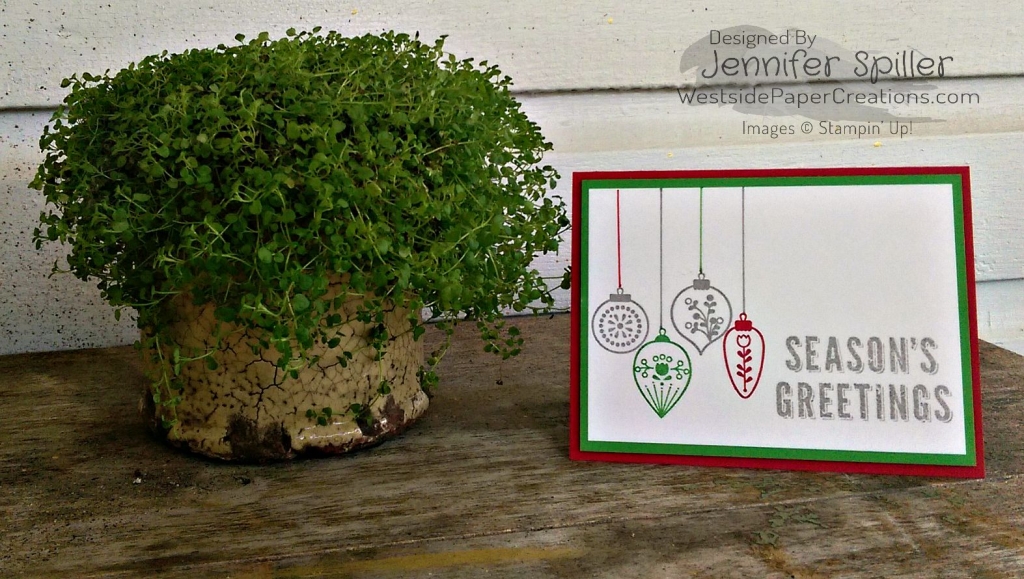
Here is today’s Card:
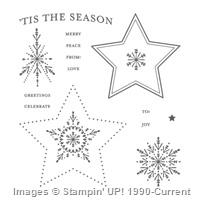
I really like the results of this unexpected “county” card.. I hope you do, also!!! The stamp set used is Many Mary Stars. And yes, it is in the Clearance Rack.

The details of the card:
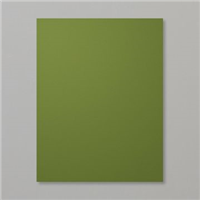
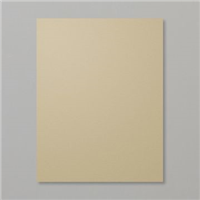
- The card base is Mossy Meadow card stock cut at 5 1/2 and scored at 4 1/4. Use a bone folder and make a really nice crease on the scored edge.
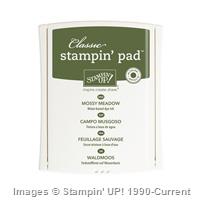
- Stamp the outline star in Night of Navy on Whisper White card stock. Then in Mossy Meadow stamp the inside star.
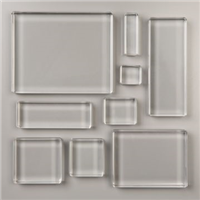
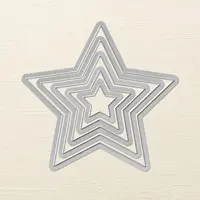
- Use your Big Shot and Stars Framelits to cut out the stars. If you do not have the star framelits then just fussy cut your stars out. Also, cut a star from Mossy Meadow card stock.
- Cut a square from Mossy Meadow card stock that is 3 1/2 by 3 1/2
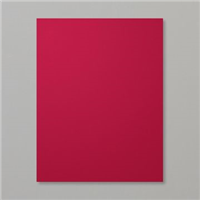
- Cut a square from Cherry Cobbler card stock that is 3 1/4 by 3 1/4. Then stamp the snow flake in Night of Navy on to the Cherry Cobbler square.
- Glue the Cherry Cobbler to the Mossy Meadow square.
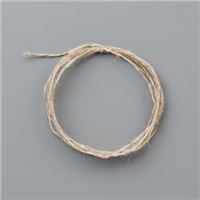
- make loose circles from your linen thread and glue it to the back of the Mossy Meadow star. Glue the Night of Navy star to the Mossy Meadow
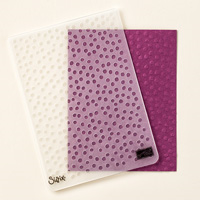
- Cut a piece of Crumb Cake card stock and then run it through the Big Shoot using the Decorative Dots Texture Impression leaving room at the bottom to stamp the greeting
- Stamp in Cherry Cobbler ‘Tis The Season on the Crumb Cake layer. Glue this layer to the Night of Navy layer . Then glue this layer to the Mossy Meadow card base
- Using Stampin’ Dimensionals add hear the square layer to the Crumb Cake layer. Then finally add the Star on top with Stampin’ Dimensionals.

I also made a gift tag using the stamp set Many Mary Stars. I did change the colors up a bit thought. I added the Cherry Cobbler glimmer paper and deleted the Crumb Cake. I love adding a little sparkle to the top of gifts.

I like this gift tag so much I think I will be making them for all my Christmas gifts this yer. It was quick and easy!!!
Here are the details of the tag:
- On Whisper White card stock stamp the out line star in Night of Navy. Then in Mossy Meadow stamp the inside star and the dotted star. I fussy cut the star out
- Then using the Big Shot and the Stars Framelits I cut the glimmer paper star out in the star framelit just larger that the Whisper White star.
- Using the medium hole punch, Punch a hole at the top of the whisper white star. Then attach linen thread for a tie
- Finally using Stampin‘ Dimensionals add hear the two stars together.
That’s it!! I hope you enjoyed my little trip down memory lane. Remember to check out the Clearance Rack for Many Mary Stars stamp set and may other great finds.


Built for Free Using: My Stampin Blog
- Price: $5.00
- Price: $8.50
- Price: $4.50
- Price: $110.00
- Price: $6.50
- Price: $6.50
- Price: $27.00
- Price: $0.00
Built for Free Using: My Stampin Blog
If you have any questions about today’s card, Stampin’ Up!, or stamping in general please use the form below. I would love to here from you. If you would like to leave a comment about today’s card please do at the bottom in the comment section. I can’t wate to here what you thought about today’s card and color combination. Does it take you back as it did me?


Thank You for Stopping by Westside Paper Creations!!!!