Faux Riped Edge CASE….
One of the things I love most about the stamping community is how open everyone is to sharing ideas and techniques. There is a little thing called CASE which stands for copy and share everything! We all pull ideas from each other. I love that ❤…
Recently while scrolling through Facebook, I saw a super cool technique called Faux Ripped Edge. I knew right away I had to try it. The person showing the technique was Patty Bennett! She is awesome by the way. And has several cards on her blog showing this technique.
One of Patty’s cards is a beach scene. Which I had to CASE!!! I changed up the stamp set and s few colors. But, you can defiantly see Patty’s beach scene in my card. See Patty Bennett’s card here and a great video of the technique
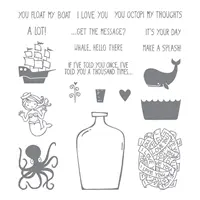
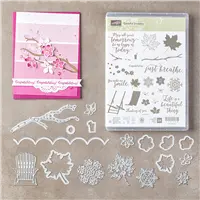
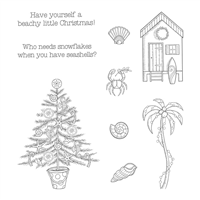
I know from the moment I saw the holiday catalog I had to have Beachy Little Christmas. This cite stamp set has everything you need to make fun beach themed Christmas Cards

Beachy Little Christmas
That palm tree with the lights is the cutest thing ever!!! And the hut is so adorable! But, my favorite image is the crab with the holly. How adorable

I love this card from the Holiday Catalog! It is super cute and shows all the fun ways to use the stamp set!!

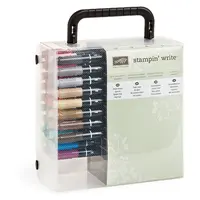
- I used three different coloring techniques. The Faux Ripped Edge Technique, my Stampin’ Wright Markers (and a blender pen), and ink blending with a sponge brayer and sponge dabber
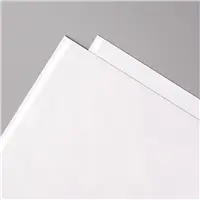
- The Ripped Edge technique uses glossy paper. Witch is quite different from working with whisper white or even shimmery white. The ink sits on top of the paper and then slowly absorbs into the paper. So it my take you a few times to get it down right!
- To do this technique you rip paper and use the edge as a guide to add ink directly from the ink pad to the glossy paper. I used Pool Party, Tranquil Tide, and Sahara Sand
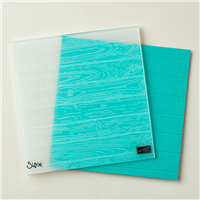
- The background is silver embossing with ink blended on top.
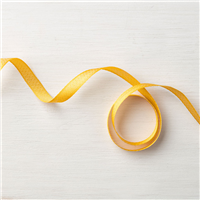
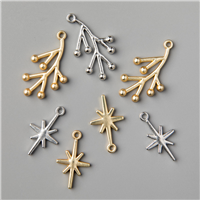
- The last detail is the star and ribbon. The star is from the Year of Cheer embellishments
- The colors used were Real Red, Tempting Turquoise, Sahara Sand and Wild Wasabi. There is a little Smoky Slate on the hut. Can you see it???
Each of your comments makes me smile! Please, comment HERE.
This square card is 5 1/2 by 5 1/2 inches. The card base is Tempting Turquoise paper that is cut to be 5 1/2 by 11 inches. Then score and burnish at 5 1/2 inches on the 11 inch side. The layers are Real Red 5 1/4 by 5 1/4 inches, the wild wasabi layer 5 1/8 by 5 1\8 inches, the tilted Tempting Turquoise 4 1/4 by 4 1/4 inches, tilted Real Red 4 1/16 by 4 1/16 inches, the glossy white paper is 4 by 4 inches.
Here is a up close of the embossed layer!

I have a new class registration open. We will be using the Coffee Cafe’ and Merry Cafe’ stamp sets! The class is August 26th from 1-3 at Westside Coffee Place & Café

The Holiday Catalog goes live on September 1st!! If you would like a copy just let me know via email. I will be happy to send you one! The Beachy Little Christmas is such a fun twist on the Holidays!
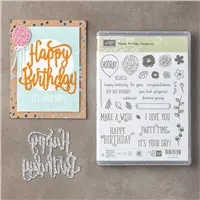
The Carols of Christmas Early Release is now available for you to purchase. You are going to love this set so much. It is my must have from the Holiday Catalog. It is amazing!!! So very easy to use and just simply perfect!!! It will remind you of why you love stamping in the first place. The stamp set pairs with the Card front builder dies! These dies rock!!!! They will make every Holiday Card sing in glory!!!!

There is a Paper Pumpkin sale going on and it is pretty sweet! This is definitely the time to join!!!

Below is a list of products used while maki this card! If you have any questions, feel free to email me at [email protected]


Happy Friday my friends! We have almost made it to another weekend! Yeeppie!!!!
Peace-