Posted by Jennifer Spiller on Aug 7, 2015 in Everyday Chic, Garden in Bloom |
Garden in Bloom is a must have Stamp Set from the Annual Catalog. I love all the choices you get out lines of flowers, “watercolor flowers”, or combine the two for a perfect garden. You also get the cutest little bee I have ever seen. Though today’s card does not feature the bee. The bee is darling. I must use it soon. I have been wanting to make a black and white card for a while now. I thought that just a little splash of Yellow would really make the card special. Last night when I sat down to make a card for a design challenge. I pulled out this set to make my black and white card. Well, as it typically goes, I left the design behind and made a completely different card. Sometimes, you just have to go where the stamps and paper are leading you!!!!! I love the final results of the card. But, I still have to complete that design challenge.
Her is The Stamp Set and Designer Paper used to make today’s card:

Garden in Bloom

Everyday Chic


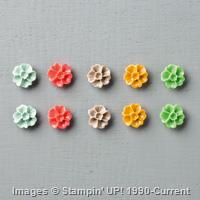
I just love the three Daisy like flowers! So full of life and happyness :> As you can see I add a little Daffodil Delight and Smoky Slate to the card. The Smoky Slate card base really brings the whole card together. The Daffodil Delight pannel makes the back and white really stand out!!!
Here are the Details of Today’s Card:
- The card base is a piece of Smoky Slate card stock cut at 5 1/2 inches and scored at 4 1/4 inches. Make sure to use your bone folder to burnish the scored edge
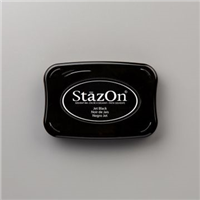
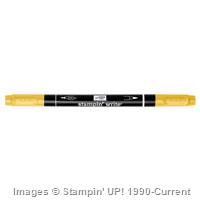
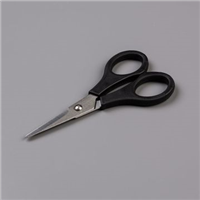
- On Whisper White or Shimmery White paper Stamp the out line flower from Garden in Bloom using Staz On Jet Back ink. Then add little touches of Daffodil Delight with the Stampin’ Wright Marker. Fussy cut the flowers with your paper snips. Using the Bone Folder curl the edges of the flowers.
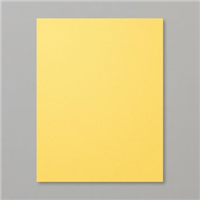
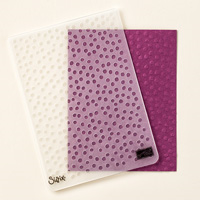
- Cut a piece of Daffodil Delight card stock to 5 1/4 inches by 4 inches. You can emboss it using the Decorative Dots Texture Impressions Embossing Folder. (see above card) Or you can leave it as be. (see below card)
- Cut a piece of Everyday Chick Designer Series Paper to 3 3/4 inches by 2 1/2 inches. Then randomly color some of the dots yellow with the Daffodil Delight Stampin’ Wright Marker.
- All that is left is to glue everything down using multipurpose glue.

Witch one do you like better? The one that has the yellow embossed . Or the one without the yellow embossing. I would love to know. Just leave a comment below. Let’s see witch one is the more popular version.
This card is spot on for so many occasions. I am using one as a birthday card. I am going to stamp Happy Birthday on the inside using a past Paper Pumpkin Stamp that is just perfect. (see stamp in below picture) The other I am using as a note card to send a quick not to a friend.

Check out the Happy Birthday Stamp from the May Paper Pumpkin Kit
Remember that My Paper Pumpkin is on Sale!!! That means its a perfect time to Join

Here is the supply list for Today’s Card:
Supply List
Built for Free Using: My Stampin Blog
Thank You for stopping by Westside Paper Creations on this very lovely Friday! I hope everyone has a fabulous Friday and a even better weekend. I am supper excited about my first of several Holiday Catalog orders arriving. I am hoping it is awaiting when I arrive home from work this evening.
Jennifer
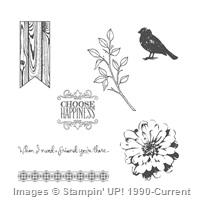
Posted by Jennifer Spiller on Aug 6, 2015 in Best Thoughts, Choose Happiness, Georgeous Grunge, Stamp A Ma Jig |
Today I am playing along with the Pal’s Paper Arts. The Pal’s are a great group of paper artist who all happen to be Stampin’ Up! demonstrators and the down line of Mary Fish. Mary is a fablous leader for all the Pal’s. I love being apart of such a wonderful group. We all support each other not just in Stampin’ Up! but, in all walks of life. I waited a long time to join Stampin’ Up! I am very proud to be a member of the Pal’s and the InKing Royalty’s. Both groups are full of amazing people. 
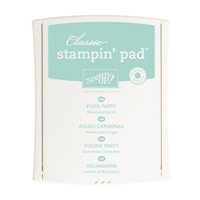
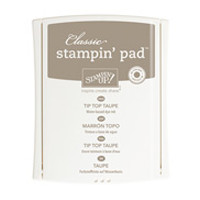
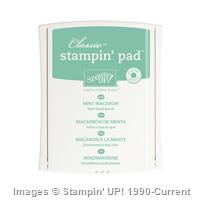
The challenge is #262 and is a color challenge. The colors in this challenge are Mint Macaron, Pool Party, and Tip Top Taupe. The Mint Macaron and the Pool party are very close to each other. Yet, completely different. One is a light shade of green and the other is blue. They are both very soothing colors to me. Tip Top Taupe really brings out either color.

Here are the Details of today’s card:
- The card base is Thick Whisper White card stock cut at 5 1/2 inches and scored at 4 1/4
- Cut Tip Top Taupe card stock to 5 3/8 inches by 4 1/8 inches
- Cut Mint Macaron card stock to 5 1/4 inches by 4 inches
- Cut Shimmery White card stock to 5 inches by 3 3/4 inches.
- Cut a strip of Tip Top Taupe to 1 inch by 3 3/4 inches
- Cut a strip of Whisper White 3/4 inches by 3 3/4 inches
- Cut a strip of Pool Part to 1/2 inches by 3 3/4 inches. Then use the Decorative Dots Texture Impression Embossing Folder and the Big Shot Glue the Three strips together.
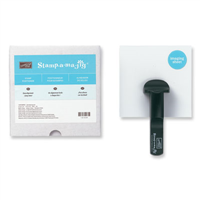
- Stamp the interlocking stamp using Tip Top Taupe ink. See below pictures about how to achieve a straight line. The Stamp-A-Ma-Jig is involved.
- Stamp this layer with the dots from Gorgeous Grunge in Pool Party. (only do this on the top part of the card stock)
- Stamp the branch from Choose happiness in Staz On Jet Black. Then using a blender pin color in the branch using Mint Macaron ink
- Stamp “You are in my thoughts” in Tip Top Taupe on the Shimmery White card stock. Use the Stamp-A-Ma-Jig to get the stamp in just the right spot! “you are in my thoughts” is from Best Thoughts Stamp Set.
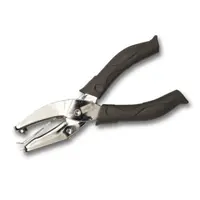
- On a scrap sheet of Whisper White card stock stamp the bird from Choose Happiness in Pool Party. Then fussy cut the bird out. Using Stampin’ Dimensionals adhere the bird to the branch. I use Stampin’ Up! paper snips for this. They make cutting a breeze.
- All that is left is to glue everything together. Glue the Shimmery White stamped layer to the Mint Macaron layer. Then using Stampin’ Dimensionals adhere this layer to the card base. Glue the strip layer to the Shimmery White using multipurpose glue.

To line up the Tip Top Taupe stamping I used the 1 inch strip of Tip Top Taupe and Post It Note tape to hold everything in place. Then using the Stamp-A-Ma-Jig I stamped the interlocking stamp. Perfect results!

Sometimes when using the Stamp-A-Ma-Jig I forget witch edge of the stamp I was using. This time I got smart and put a “X” on the end that was going against the Stamp-A-Ma-Jig. That way I will always know witch end is correct.
Please make sure to check out all the fabulous creations by the Design Team over at Pal’s Paper Arts. And don’t forget to scroll down to the bottom to see all the projects by those like me who are playing along with the Design Team on Challenge 262
Supply List
Built for Free Using: My Stampin Blog
If you have any questions regarding today’s card, Stampin’ Up!, or stamping in general please use the form below to contact me. I would love to here from you. I am here for you and your stamping needs.
Thank You for stopping by Westside Paper Creations. Enjoy your Wednesday and I will see you back here soon.
Jennifer