Today I bring you two cards that are designed the same but, are completely different. One is a holiday card the other is a fabulous all occasion card. By simply changing the colors and the stamp set each card took on a life of their own.
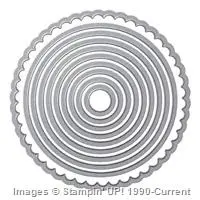
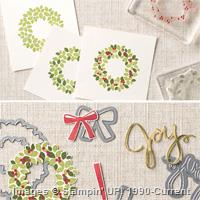
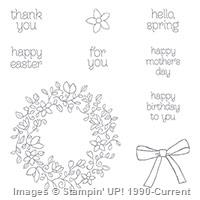
I love the stamp set Circle of Spring. It is a new set in the Annual catalog. I also, am very happy that the Wondrous Wreath stamp set form Last years Holiday Catalog made a appearance in the Annual catalog as well. Both stamp set make me smile. Both stamps coordinate with the Wonderful Wreath Framelits and Dies.
Wreaths are a symbol of strength, everlasting life, change in season, and memorialize life. They have many meanings that take on a life of their own weather using fresh flowers, evergreens, herbs, or dried wheat. The Circle of Spring set reminds me of a fresh flower wreath you would find in the spring time. It brings to mind images of new life. The Wondrous Wreath makes me think of evergreens and the strength it takes to survive the harsh winters of life.
Here are the Details:
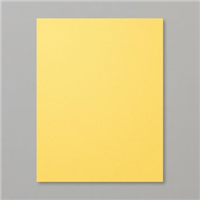
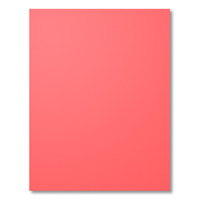
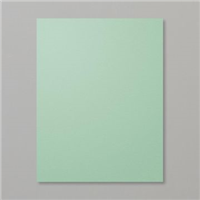
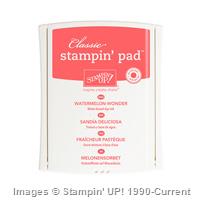
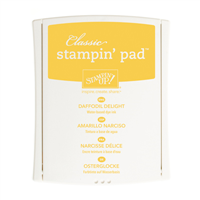
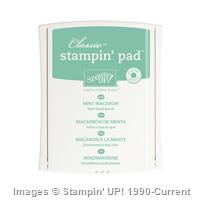
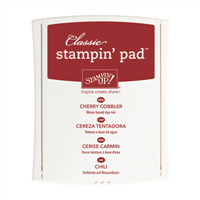
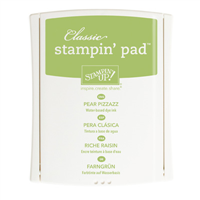
Choose the colors you wish to use. For the spring wreath I used Daffadil Delight, Watermelon Wonder, and Mint Macaron. For the Holiday Wreath I used Cherry Cobbler and Pear Pizzazz
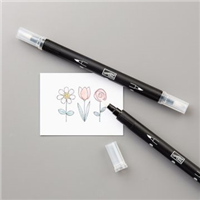
The Circle of Spring Wreath is stamped in Staz On ink and is colored using Blender Pins and ink.
The Holiday Wreath is stamped in Pear Pazzaz and Cheery Cobbler
The card base is cut at 4 1/4 inches and scored at 4 1/4 inches making a square card.
The layers are cut at 4 inches by 4 inches and 3 3/4 inches by 3 3/4 inches
The white layer is Shimmery White with stripes made using Sponge Dabbers, ink, and a little water.
I love the Shimmery White paper for making stripes. I had a little learning curve when it came to making my “watercolor” stripes. For me, it was best to have a shallow dish of water that I dipped my sponge dabber into after I inked the dabber. Then the ink glided on smooth and easily. Other wise, I ended up with streaky spots or circle where i started and ended my line. I tried starting off the paper, different strengths of pressure when using a sponge. Like I said, the water in very small amounts worked best. After I figured out what worked best, It was a easy peasy to make beautiful stripes. I am looking forward to doing this more often (Now That I KNOW How) Every day is a adventure in the Stampin’ Up! world.
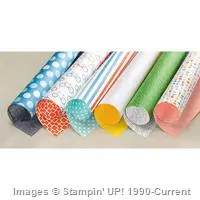
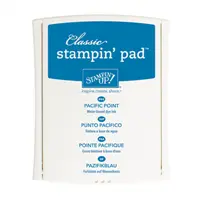
Over the weekend I was making a few cards for my cousin. I was using a color I normally do not use a lot of. Pacific Point. I like this color very much after spending a few hours stamping with is and imagining all the possibility’s. One of the things I did was make envelope liners for the Note Cards I was making. One of the papers I used for envelope liners was the inspiration for today’s card. The paper was from Schoolhouse Designer Series Paper. That and a great theme challenge by The Paper Players. The theme is “It’s Hip to Be Square” Man, that saying always makes me think of Huey Lewis and the News …..and he always leads me to Back to the Future. Now, Back to the Future has nothing to do with today’s card. But, lets all pull it out and watch the young Michale J Fox and listen to a little Huey Lewis. Well, on to today’s card.
Here is the Sketch by The Paper Players:Like I said the color inspiration for this card was the Schoolhouse Designer Series Paper. It combines Pacific Point, Pool Party, and Whisper White. I just love the dots, bikes, squares, and stripes in this bright and bold paper. Here is the stamp set:
Here is today’s card:
I just love the bold circles of the paper combined with the very bold sentiment. This is such a fun card that is happy! happy! happy! This card is clean, simple, and quick. What could be better than that1
Here are the Details of today’s card:
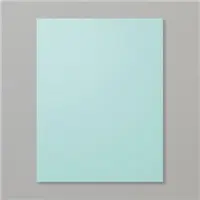
The card base is pool party cut at 5 1/2 inches (on the short side) and scored at 5 1/2 inches. Use your bone folder to burnish the score line.
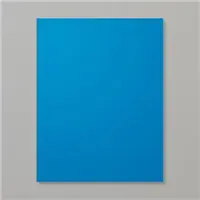
Cut a piece of Pacific Point into a square that is 5 1/4 inches by 5 1/4 inches.
Cut the bold dot paper from Schoolhouse Designer Series Paper into a square that is 5 inches by 5 inches. Glue the square layers together using multipurpose glue. Glue to the card base also.
Stamp the “I’m always here for you” stamp from Friendly Wishes in pacific point on Whisper White Paper. Then use the Circles Collection Framelits and your Big Shot to cut out the sentiment.
Use the next size up Circles collection Framelits to cut a circle from Pool Party card stock. Glue the two circles together using multipurpose glue. Then use Stampin’ Dimentionals to adhere to the card base.
This is a special size card, so if you want a envelope you will need to use your handy dandy envelope punch board to make a envelope. That’s it! So clean and simple. Sometimes it’s nice to just let the simple design take over. This is easy to achieve with such great bold sentiments and paper by Stampin’ Up! Just another reason why I love my Stampin’ Up! products. i can sit and create something really elaborate and it will look great. Or I can make a quick, simple, and clean card with just a few supplies and it will be just a amazing.
Be sure to check out all the great cards by the Design Team at The Paper Payers. Also, scroll down to the bottom and check out all the cards by those paying along with The Paper Players. Thank You for stopping by Westside Paper Creations. I hope your Tuesday is fabulous!


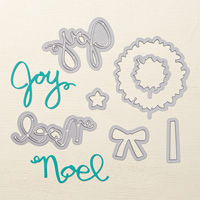


 Here is the stamp set: