Pages Menu
Categories Menu

Posted by on Sep 1, 2017 in Butterflies Thinlits, Butterfly Basics, Dapper Denim, Dragonfly Dreams, Gelli Plate, leafing, Monoprinting, Oh So Eclectic, Touches of Texture | 2 comments

Wings of nature monoprints

Hi! guys, I’m back today with another set of monoprints.  I am super excited to share these prints with you!  I used the mono prints as backgrounds for butterflies and dragonflies!  Such fun. I made these prints at the same time as the ones I shared earler this week. Actually, I used the same stamps for the printing process, Butterfly Basics.  Then, I added some extras to the prints.

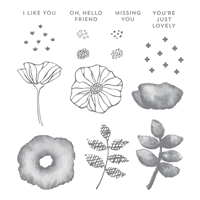
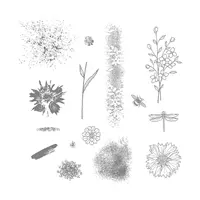
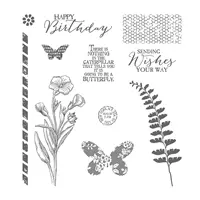
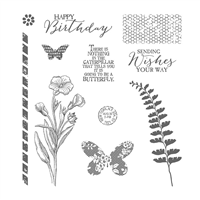
Butterfly Basics Stamp Set

This set is one of my all time favorites! As I mentioned, Sunday it was time to give it some love!!

  • Each print has its own unique feel.  Yet all three work so well together.
  • The guilding and stamping on top of the prints give them an extra special feel

These prints were made very similarly to the original monoprints, used a Gelli Plate to create the prints.

  • The paper is mixed media paper and is taped with painters tape to create a border
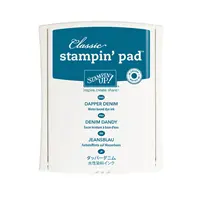
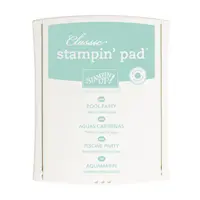
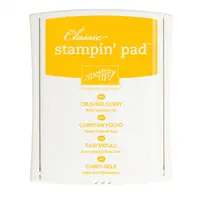
  • The colors used are Pool Party, Crushed Curry, and Dapper Denim
  • The process is a layering of Gelli prints to create a depth of color and texture.
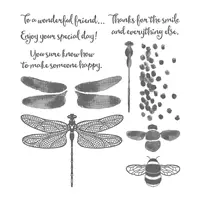
  • The Dragonfly is stamped in Dapper Denim. This is from the Dragonfly Dreams Stamp set

  • This print is accented with stamping and guilding.  After the print was completed, I added additional stamping to add even more texture.
  • Even more texture was added with glue and guilding. (mixed metal leafing)
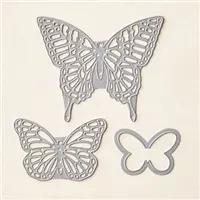
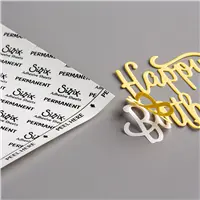
  • The butterfly was guilded. I love using the multipurpose adhesive sheets for this process.  It makes leafing so easy with die cuts
  • The colors are Dapper Denim, Pool Party, and Crushed Curry
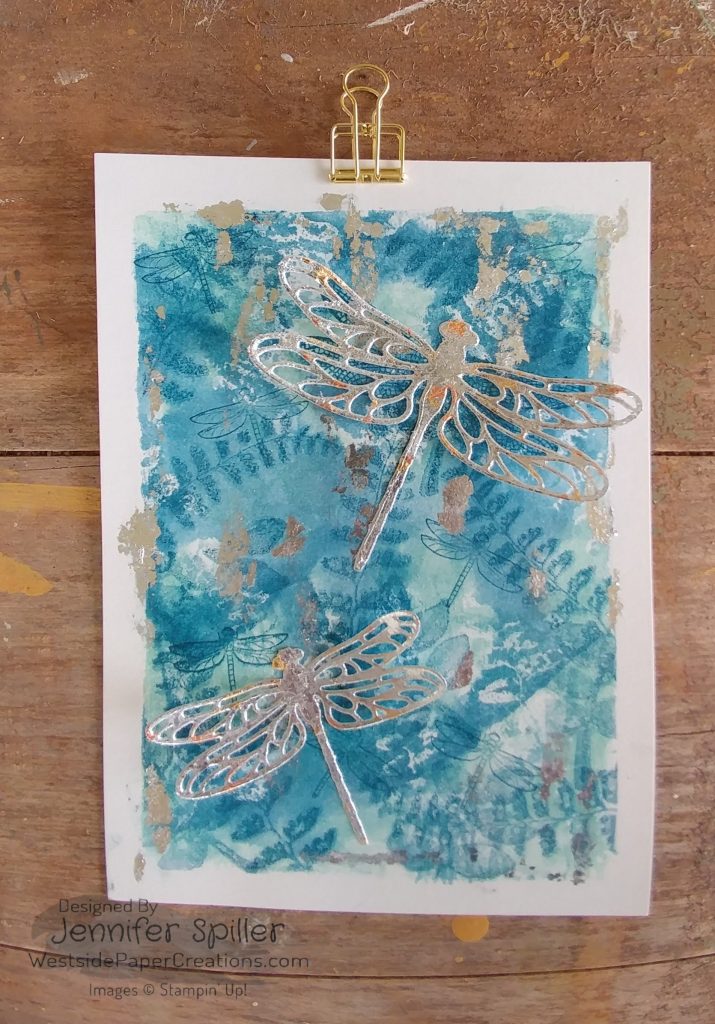
  • This print is just two colors, Dapper Denim and Pool Party
  • There are a few leaves peeping through from the Oh So Eclectic stamp set.
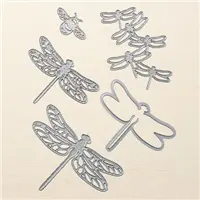
  • The small dragonflies are from the Touches of Texture stamp set.  They are stamped in Dapper Denim
  • Little secret, I originally was not going to use this print. It was a slight bit crucked. Then I thought. Add some guilding.  So, I did…this led to the two prints above. Witch I love!
  • The two large dragonflies add a little extra special feel, especially with all the guilding in the background

If you would like to know more about the actual printing process check out this post!  It explains the steps of the printing process. I didn’t want to repeat what I had just told you on Sunday! But, I sure did want you to see these beautiful prints.

Each of your comments makes me smile! Please, comment HERE.

Today is the day! The Annual catalog is Here!!! Lets all do the Happy Dance!!! Yeppie. I am so excited for you to see the catalog!!!

There is a Paper Pumpkin sale going on and it is pretty sweet! This is definitely the time to join!!!

Here is the supply list.  If you have any questions about today’s card, products used, or Stampin’ Up! feel free to email me at westsidepapercreations@gmail.com

 

Jennifer

Read More

Posted by on Oct 13, 2015 in Birthday Blossoms, Butterfly Basics, Watercolor | 1 comment

Birthday Blossom and Watercolor

I’m going to let you in on one of my secrets….practice always makes improvement.  I am not sure with art their is ever perfection!  But, through practice we can learn how to create beautiful things.   I have always wanted to be able to watercolor and it actually look like something.  So when I learned that Online Card Classes was offering a Watercolor Mediums class I was all in.  I love learning all about the different ways to use Mediums in card making.  This was such a fun class and the ladies make watercoloring so approachable.  I will be sharing many projects over the next few weeks that feature techniques that were taught in this class.

I love the idea of incorporating watercolors into my stamping world because it allows me to use things that are normally just laying around waiting for me to try and make something real.  So the opportunity to add watercolor to my stamping was amazing!!!

The other person I need to mention is Shawn DeOliver . He is a fellow InKing Royalty and was the person I saw use this particular technique that made me want to try it! Check out his blog Shawn Stamps. 

Today’s Card features the stamp set Birthday Blossoms.  I really love the sketched look of the flowers in this set. Birthday BlosssomsAnd the sentiment is from Butterfly Basics
IMAG2172 1

I don’t have may details about this card.  The flowers are embossed with white embossing powder.  Then I watercolored over the entire layer.  I used Daniel Smith Watercolors and Windsor Newton Watercolors.  Allow the Watercolored piece to dry before adding the sentiment.

These are my fav. of the Daniel Smith Watercolors that I have

IMAG2244


Thank You for stopping by Westside Paper Creations!  I hope everyone has a great Tuesday!!!!

Jennifer

Read More

Posted by on Sep 7, 2015 in Butterfly Basics, Global Design Project | 36 comments

“New Kids on The Block” for #GDP001

Recently in the “Pal’s Facebook Chat” Mary asked about where we were in the 80’s.  I always think about Selma when I think of the 80’s.  The second thing that always comes to mind is how much I loved the “New Kids On The Block”  I was just the right age to be totally warped up in all things New Kids.  Posters (why yes!!!), Words to every song (You bet ya), Concerts (a must), family trip to Boston with one of my best friends tagging along (why of course)…..

Today, there is a all new kind of “New Kid on The Block” and it is a Global Design Project. This team of Designer’s have The Right Stuff!!!.  I am thrilled to be playing along with them during their first challenge.  I know I will become a avid fan of this Challenge.  Some of my favorite paper artiest are on the Team!  I am looking forward to seeing what they created and how they will challenge me to be better at paper art!

When thinking about what to make I wanted to make a card that was worthy of the “New Kids On The Block” .  I decided to step out of my comfort zone and do something all new. Well, all new to me.

GDP001_Colour_Challenge

So, I am “totally” in love with this color pallet!  Smoky Slate is my “favorite” of the Neutrals Collection.   So Saffron is just the most perfect yellow.  All these colors need was Pink Pirouette in their life.  IMAG2077

Step by Step….

Step 1…

  • The card base is Smoky Slate cut at 9 inches and scored at 4 1/2 inches to make a card base that is 4 1/2 by 4 1/2
  • The layers are Pink Pirouette (4 1/4 by 4 1/4) , So Saffron (4 1/8 by 4 1/8), and Acrylic Paper 180 lb (4 by 4)

Step 2….

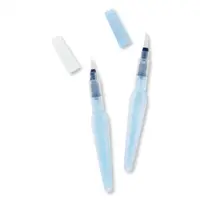
  • I layered  a wash of Smoky Slate on the the Acrylic Paper using a Aqua Painter and the Smoky Slate Ink Refill.  (using the ink refill gave a much darker version of Smoky Slate) Let this completely dry before continuing.  I used the heat gun to speed up drying.IMAG2070

Step 3….

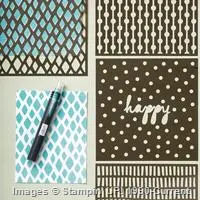
  • Next you will need a pallet knife, Liquitex Texture Gel Ceramic Stucco,  Post-It Note Tape, and the Happy Patterns Decorative Mask.  Tape the mask over the  Acrylic Paper.  Then using a pallet knife add the Texture to the paper.  Remove mask( go on and clean it up.  You want  be able to if it dries)  All the texture to dry.  Again, I used the heat gun after letting it set for about two hours.  Just to make sure it was dry. Remember…..Time is on our side!!!!

    This was the First attempt. Before I realized that I need to Wash the background first!

    This was the First attempt. Before I realized that I need to Wash the background first!

Hang Tough…We are almost There!!!

Step 4…

  • Next, I taped the mask back over the paper in the same spot.  This took me a bit to figure out.  But, once I did  it was simple.  IMAG2080
  •  Simply use the So Saffron and the Pink Pirouette Ink Refills (again I used these because the color is concentrated) and a Aqua Painter to add layers of color.  I did not use a lot of water out of the Aqua Painter.
  • Take the mask off and add some of the So Saffron and Pink Pirouette to the background.

Step 5….

  • Make strips of Smoky Slate (1 3/4 by 3) , Pink Pirouette (1 1/8 by 3), and So Saffron (1 by 3)
  • On the So Saffron stamp “Happy Birthday”  in Smoky Slate.
  • The layers are put together by adhering the Pink Pirouette, So Saffron, and the Acrylic Paper using multipurpose glue.  Then using Stampin’ Dimentionals add this to the card base.  Glue the strips together using multipurpose glue.  Then use the glue to add it to the card.

IMAG2075

Supply List:  Remember besides the Stampin’ Up! supplies you will need Post It Note Tape, Liquitex Texture Ceramic Stucco, and a pallet knife


Make sure to hop over to the Global Design Project and see what everyone is creating.  I know you will not be disappointed.  They are so very talented.  And remember to leave some blog love if you see creations you like!!! Happy Labor Day.  I hope you have a great one and we will meet back here  again soon.  Where do “you” go from here….Global Design Project…. “Only thing I know, Me can never live with out ya”

Jennifer

Read More