I’m going to let you in on one of my secrets….practice always makes improvement. I am not sure with art their is ever perfection! But, through practice we can learn how to create beautiful things. I have always wanted to be able to watercolor and it actually look like something. So when I learned that Online Card Classes was offering a Watercolor Mediums class I was all in. I love learning all about the different ways to use Mediums in card making. This was such a fun class and the ladies make watercoloring so approachable. I will be sharing many projects over the next few weeks that feature techniques that were taught in this class.
I love the idea of incorporating watercolors into my stamping world because it allows me to use things that are normally just laying around waiting for me to try and make something real. So the opportunity to add watercolor to my stamping was amazing!!!
The other person I need to mention is Shawn DeOliver . He is a fellow InKing Royalty and was the person I saw use this particular technique that made me want to try it! Check out his blog Shawn Stamps.
Today’s Card features the stamp set Birthday Blossoms. I really love the sketched look of the flowers in this set. And the sentiment is from Butterfly Basics
I don’t have may details about this card. The flowers are embossed with white embossing powder. Then I watercolored over the entire layer. I used Daniel Smith Watercolors and Windsor Newton Watercolors. Allow the Watercolored piece to dry before adding the sentiment.
These are my fav. of the Daniel Smith Watercolors that I have
Thank You for stopping by Westside Paper Creations! I hope everyone has a great Tuesday!!!!
Welcome to InKing Royalty’s September Blog Hop. We are helping to prepare you for October with super-fun Tricks OR Treats. Our projects center around fun techniques (tricks) or creative ways to package up Halloween goodies (treats). In some cases, you might get BOTH! What fun! After you read my post, I hope you’ll hop over to the next person on the list at the base of this post.
As some of you know I have been under the weather do to a dehydration issue. I am starting to finally feel like my old self. Many of you also know that I love Alabama Football. What do these two things have incommon? Well, last year I bought some houndstooth pj pants that I have been wearing. It was the end of the season and on sale and I thought why not? The other day, during the great sickness, I noticed that my NEW pj pants were falling apart. I literately had only worn them once and they started to rip at the seams. This being the case. I have decided that it is just best to wear them till they fall apart. And then throw them away. They are well on the way as we speak. And No they can’t be mended. As they slowly fall apart the material shreds….
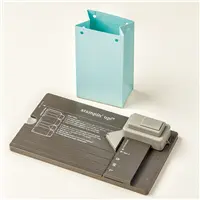
So, in other news…. I have this tool that has been setting around in the craft area. I keep looking at it thinking “I really need to use that” Today seemed liked the perfect opportunity to make something fun with it! I am defiantly loving this wonderful product by Stampin’ Up! I had so much fun making today’s projects featuring the Gift Bag Punch Board. This fabulous board makes making Gift Bags such a breeze. And the sizes are perfect for little treat bags…
I made two different treat bags with the Gift Bags Punch Board. One using the small size and one using the medium.
Just a few Trick when using the the Gift Bag Punch Board
First of all Make sure you read the instructions. If you fallow the instructions the bags come out perfect. If you try to wing it because you think you know what you are doing even though you have never used a punch bard. You are going to mess up!!!!!
After making a few of the bags….I decided they were very easy to make.
So , here are a few Tricks to make the process easier
Use the tear tape to adhere the bag together
Adhere the back flap first and then the bottom
Make sure you remember if you are making a Small, Medium, or Large bag. It will matter where you score and how well your bag comes together!!! (ask me how I know)
How ever tall you want your bag to be Make sure to cut the paper 1 1/4 inches taller to allow for the bottom flaps
The stamp sets used for this project were Merry Everything
and Among the Branches
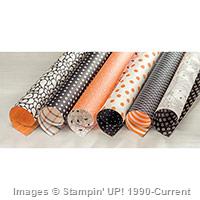
Other notable items used are Happy Haunting Designer Series Paper
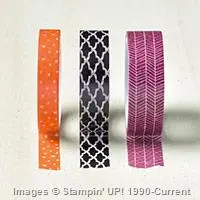
and Happy Haunting Designer Series Washi Tape
I love to use Washi Tape! And one of my favorite ways to do that is by adding it to card stock to make unique backgrounds.
Here are the details for the small bag:
Happy Haunting Designer Series Paper cut to 10 inches by 4 1/4 inches. To make a bag that is 3 inches tall.
Use the Gift Bag Punch Board to score and punch the bag. I did not add the holes to the top of the bag.
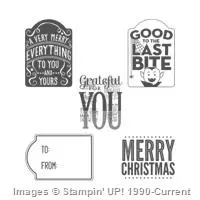
Stamp “Good to the last Bite” on Very Vanilla card stock with Rich Razzleberry ink.
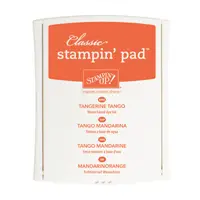
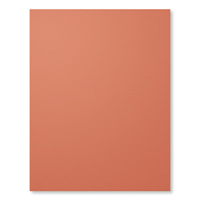
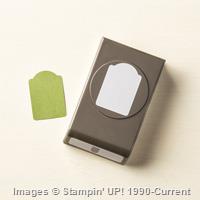
Punch out the stamped image with the Note Tag Punch. Also punch the Note Tag with Tangerine Tango card stock
To make the side banner. Use the Rich Razzleberry washi tape from Happy Haunting Washi Tape, Very Vanilla card stock and Tangerine Tango card stock
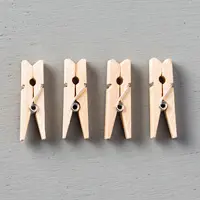
Here is a fun little Trick for you. Use your Tangerine Tango Stampin’ Writer to color the clothespin.
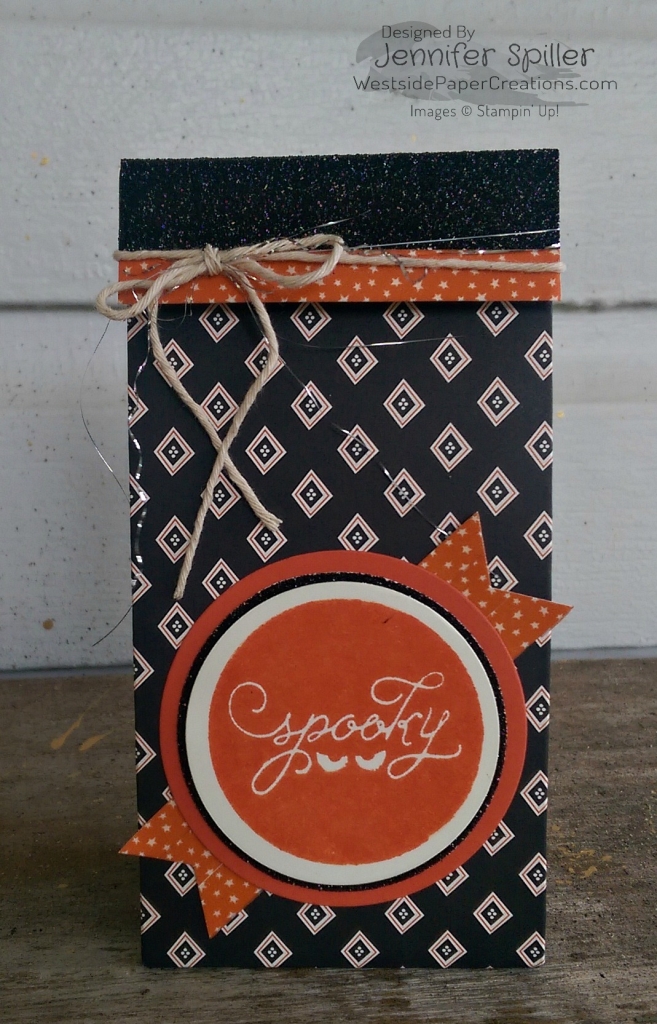
Here are the details for the medium bag:
Happy Haunting Designer Series Paper cut to 11 inches by 6 1/4 inches. To make a bag that is 5 inches tall
Use the Gift Bag Punch Board to score and punch the gift bag as need for a medium bag
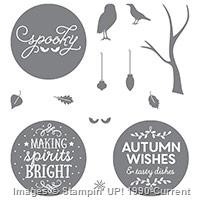
Stamp Spooky on Very Vanilla card stock using Tangerine Tango ink
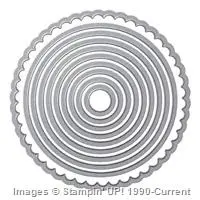
Cut out the Spooky using the Circles Framelits and your Big Shot. Also, cut out a Tangerine Tango circle the next size up.
Punch a Circle out of Black Glimmer Paper with the 2 1/2 inch circle punch
To make the banner cut a 1 inch strip of Very Vanilla card stock. Add the Tangerine Tango Washi Tape from Happy Haunting Designer Washi Tape to the Very Vanilla strip. Punch each end with Triple Banner Punch. This leads me to my next Trick…Use a pin to mark on the back of the banner where you want the v of the banner to line up. When you punch the banner out turn the punch upside down so you can see to line up your dot and the banner punch v…
The top of the bag is made using a two inch strip of Very Vanilla card stock scored at 1 inch. Then add a strip of the Tangerine Tango Washi Tape and a strip of Black Glimmer Paper
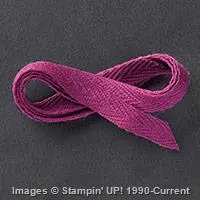
Tie the box together using Very Vanilla Thick Bakers Twine
Be sure to check out this video by Stampin’ Up!
Thank you for stopping by today. I hope you’ll hop along to the next stop on the blog hop,Becky Volpp at Ink Blossom with Becky . There’s lots of inspiration to be found in this group – and you don’t want to miss it!
Thank you for hopping along with us. If you get stuck during the Blog Hop, please use this line-up as a guide: