Pages Menu
Categories Menu

Posted by on Sep 21, 2016 in Halloween, InKing Royalty Blog Hop | 7 comments

Halloween with the InKing Royalty

halloween-hop

Welcome to InKing Royalty’s September Blog Hop!  We are excited to share some super-fun creations with you today!  This month’s Blog Hop is filled with inspiring projects that feature each artist’s take on the spookiest time of year – Halloween.  What fun!  After you read my post, I hope you’ll hop over to the next person on the list at the base of this post.

Fall is such a fun time of year.  I just love all the pumpkins, leaves changing color, best of all football season.  Halloween is just one of the fun holidays that just brings out the joy in decorating.  Everthing from hanging gost in a tree to hainging spiderwebs in the hall way are compleatly acipatable.  Black candile stick are just simply a must. Anyway, it is just a great holiday.  Childeren dress up an trick or treat… I wanted to create a card that brought out the spooky feel of Halloween.  That being said.  I had not really pruchased my stamps for Halloween yet.  I know right????  So, thinking about what stamps I had…I combined two sets to create a fun sean.  I debated on adding a sentament but in the end.  I decided that it was best without…

When I first saw the Anniual catalog I was imadately in love with the Glamper Greetings stamp set.  Who does not love a great camper????

Glamper Greeting Stamp Set

Glamper Greeting Stamp Set

I just used the bats and the little pumpkin for this set.  I can’t wate to play with the set more and create all sorts of different camper outings… I combined the basts and the pumpkin with trees form the Thoughtful Branches stamp set.  This set is only avaibale for a limited time.  And it is just full of amazing trees.

Thoughtful Branches Stamp Set

Thoughtful Branches Stamp Set

There are so many posibilites with this set!  And the greetings are Amazing!!!!

 Here are a few detils:

  • To create the night sky I created a mask for my large Harvist Moon. (let’s all sing Harvist Moon)  and then used my Clarity stincle brushes and inks to create the background.  I first laid down some Smoky Slate ink fallowed by Dapper Denim.  Then I went back and forth between the to colors untill I liked the background.  I added a little Early Espresso to to bottom for the night time ground.  After removing the mask, I laid down the negative mask to show only the moon.  Then with the brushed add some Crushed Curry and Tangerine Tango.
  • The second step was to add some White Gouache to the card to create clouds.
  • Finally, I stamped the trees and the bats with Basic Black Ink and the Pumpkin in Tangerine Tango
  • The card is layered on basic black and the Warmth & Cheer Designer series paper stack
    Warmth & Cheer Designer Series Paper Stack

    Warmth & Cheer Designer Series Paper Stack


Speeking of a spatacular spooky Halloween, Have you seen the September Paper Pumpkin.  Boy, this kit really is a fun one.  Little test tubes to fill with candy to add to your Halloween treats… What fun!!!! youtubeth_pp_sept

Be sure to check out the video that goes along with this kit!  I just love how Paper Pumpkin makes it so easy to make cards or give little treats like these!  Everything you need delivered to your door.  It just can’t get any easer than that!!!!!

Here is a little look see at the stamp set included in September’s Kit.

September 2016 Paper Pumpkin Stamp Set

September 2016 Paper Pumpkin Stamp Set

Thank you for stopping by today.  I hope you’ll hop along to the next stop on the blog hop, Candy Ford at Stamp Candy. There’s lots of inspiration to be found in this group – and you don’t want to miss it!

Thank you for hopping along with us. If you get stuck during the Blog Hop, please use this line-up as a guide

  1. Brian King at Stamp with Brian
  2. Lynn Kolcun at Avery’s Owlery
  3. Shawn de Oliveira at ShawnStamps
  4. Becky Volpp at InkBlossom with Becky
  5. Karen Browning at StampWithMeKZB
  6. Jennifer Spiller at Westside Paper Creations
  7. Candy Ford at Stamp Candy
  8. Lory Robinson at The Robin’s Nest Designs
  9. Imogene Thomas at MomoMakes.com
  10. Robin Myren at Songbird Designs by Robin

I hope each of you have a great day.  Thank You for stopping by Westside Paper Creations.Much Love,

Jennifer

Jennifer

Read More

Posted by on Sep 30, 2015 in Among the Branches, Black Glimmer Paper, Gift Bag Punch Board, Halloween, Happy Haunting Designer Series Paper, Happy Haunting Designer Washi Tape, Merry Everything | 6 comments

Tricks or Treats InKing Royalty Blog Hop

Tricks or Treats

Welcome to InKing Royalty’s September Blog Hop.  We are helping to prepare you for October with super-fun Tricks OR Treats.  Our projects center around fun techniques (tricks) or creative ways to package up Halloween goodies (treats).  In some cases, you might get BOTH!  What fun!  After you read my post, I  hope you’ll hop over to the next person on the list at the base of this post.

As some of you know I have been under the weather do to a dehydration issue.  I am starting to finally feel like my old self.  Many of you also know that I love Alabama Football.  What do these two things have incommon?  Well, last year I bought some houndstooth pj pants that I have been wearing. It was the end of the season and on sale and I thought why not?  The other day, during the great sickness, I noticed that my NEW pj pants were falling apart.  I literately had only worn them once and they started to rip at the seams.  This being the case.  I have decided that it is just best to wear them till they fall apart.  And then throw them away.  They are well on the way as we speak.  And No they can’t be mended.  As they slowly fall apart the material shreds….

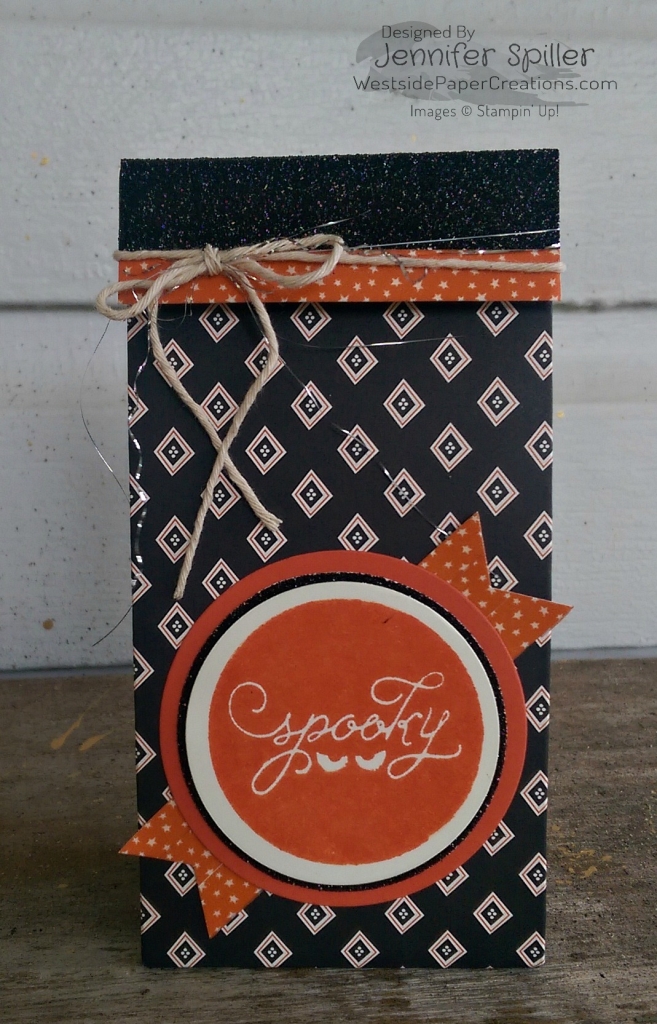
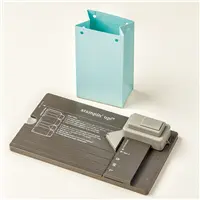
So, in other news…. I have this tool that has been setting around in the craft area.  I keep looking at it thinking “I really need to use that”  Today seemed liked the perfect opportunity to make something fun with it! I am defiantly loving this wonderful product by Stampin’ Up!   I had so much fun making today’s projects featuring the Gift Bag Punch Board.  This fabulous board makes making Gift Bags such a breeze.  And the sizes are perfect for little treat bags…

I made two different treat bags with the Gift Bags Punch Board.  One using the small size and one using the medium.

IMAG2220

Just a few Trick when using the the Gift Bag Punch Board

First of all Make sure you read the instructions.  If you fallow the instructions the bags come out perfect.  If you try to wing it because you think you know what you are doing even though you have never used a punch bard.  You are going to mess up!!!!!

After making a few of the bags….I decided they were very easy to make.

So , here are a few Tricks to make the process easier

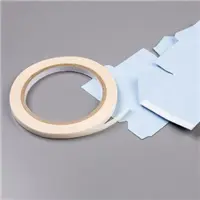
Use the tear tape to adhere the bag together

Adhere the back flap first and then the bottom

Make sure you remember if you are making a Small, Medium, or Large bag.  It will matter where you score and how well your bag comes together!!! (ask  me how I know)

How ever tall you want your bag to be   Make sure to cut the paper 1 1/4 inches taller to allow for the bottom flaps

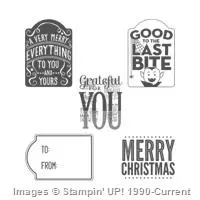
The stamp sets used for this project were Merry EverythingMerry Everything

and Among the Branchesamong the branches

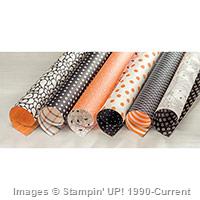
Other notable items used are Happy Haunting Designer Series PaperHappy Haunting

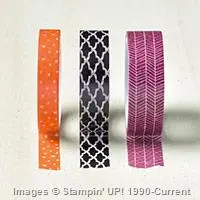
and Happy Haunting Designer Series Washi TapeHappy Haunting washi tape

I love to use Washi Tape! And one of my favorite ways to do that is by adding it to card stock to make unique backgrounds.

IMAG2222

Here are the details for the small bag:

  • Happy Haunting Designer Series Paper cut to 10 inches by  4 1/4 inches. To make a bag that is 3 inches tall.
  • Use the Gift Bag Punch Board to score and punch the bag.  I did not add the holes to the top of the bag.
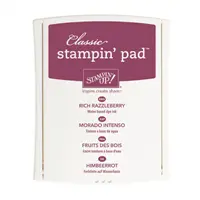
  • Stamp  “Good to the last Bite” on Very Vanilla card stock with Rich Razzleberry ink.
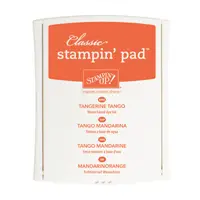
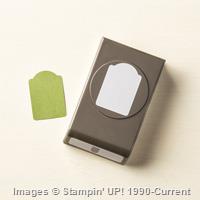
  • Punch out the stamped image with the Note Tag Punch.  Also punch  the Note Tag with Tangerine Tango card stock
  • To make the side banner. Use the Rich Razzleberry washi tape from Happy Haunting Washi Tape, Very Vanilla card stock and Tangerine Tango card stock
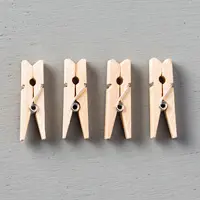
  • Here is a fun little Trick for you.  Use your Tangerine Tango Stampin’ Writer to color the clothespin.

IMAG2224

Here are the details for the medium bag:

  • Happy Haunting Designer Series Paper cut to 11 inches by 6 1/4 inches.  To make a bag that is 5 inches tall
  • Use the Gift Bag Punch Board to score and punch the gift bag as need for a medium bag
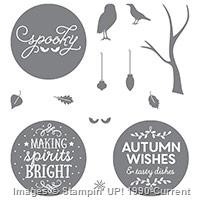
  • Stamp Spooky on Very Vanilla card stock using Tangerine Tango ink
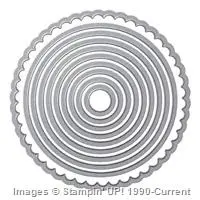
  • Cut out the Spooky using the Circles Framelits and your Big Shot.  Also, cut out a Tangerine Tango circle the next size up.
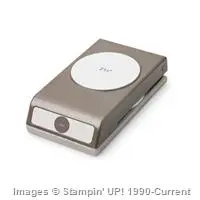
  • Punch a Circle out of Black Glimmer Paper with the 2 1/2 inch circle punch
  • To make the banner cut a 1 inch strip of Very Vanilla card stock. Add the Tangerine Tango Washi Tape from Happy Haunting Designer Washi Tape to the Very Vanilla strip.  Punch each end with Triple Banner Punch.  This leads me to my next TrickUse a pin to mark on the back of the banner where you want the v of the banner to line up.   When you punch the banner out turn the punch upside down so you can see to line up your dot and the banner punch v…
  • The top of the bag is made using a two inch strip of Very Vanilla card stock scored at 1 inch.  Then add a strip of the Tangerine Tango Washi Tape and a strip of Black Glimmer Paper
  • Tie the box together using Very Vanilla Thick Bakers Twine


Be sure to check out this video by Stampin’ Up!

Thank you for stopping by today.  I hope you’ll hop along to the next stop on the blog hop,Becky Volpp at Ink Blossom with Becky .  There’s lots of inspiration to be found in this group – and you don’t want to miss it!

Thank you for hopping along with us. If you get stuck during the Blog Hop, please use this line-up as a guide:

  1. Brian King at Stamp with Brian
  2. Candy Ford at StampCandy
  3. Lynn Kolcun at Avery’s Owlery
  4. Lydia Fiedler at Understand Blue
  5. Shawn de Oliveira at ShawnStamps
  6. Lisa Pretto at InkBig Academy Stamps
  7. Sharon Walker at Stamp with Sharon W
  8. Jennifer Spiller at Westside Paper Creations
  9. Becky Volpp at Ink Blossom with Becky

Here is the supply list

Supply List

Built for Free Using: My Stampin Blog


Thank You for visiting Westside Paper Creations! Have a great day.  I am looking forward to meeting you back here soon!

Jennifer

Read More